How 'bout THEM apples?!?

    I volunteered to make cookies for a teacher appreciate dinner last week and since it was September, and the beginning of the school year, I had apples on the brain.

    These apples are inspired by my friend, Jennifer, a FABULOUS cookie decorator who makes cookies for Frost Bake Shoppe.  This summer, she made these cute little sun cookies...aren't they darling?!?  Well, I thought my apples needed smiles as well.


    {One note on these...the dots are just a lighter red, but next time I make them, I'll make the dots a bit darker....I think the eyes blend in a little too much with them. And wouldn't green apples be fun, too?}

    To make them, you'll need:
     
      Using a #3 tip, outline the cookie (apple & leaf) in black icing (I STRONGLY recommend AmeriColor Super Black).  Pipe the stem.

      Because of the black outline, you may want to let the outline set for a bit longer than normal.  One hour should be fine.

      Thin the red and light red icings with water, a bit at a time, until it is the consistency of thick syrup.  Cover with a damp dish towel and let sit several minutes.

      Stir gently with a rubber spatula and transfer both icings to squeeze bottles.

      Working 6-8 cookies at a time, fill in the apples in red, using a toothpick to guide to edges.

      Go back over the same 6-8 cookies and drop dots of the lighter red icing.
      Let stand at least one hour.

      With the #4 tip, pipe eyes on the apples with white icing.

      Using a #2 tip, add the pupils to the eyes and a smile. :)

      With another #2 tip, fill in the leaf.

      Let dry overnight.

      You know what they say...
      "An Apple a Day Keeps the Skinny Jeans Away." 
      Or something like that.

      Tidy Mom I'm Lovin It Fridays
      Source URL: http://policfashion2011.blogspot.com/2010/09/
      Visit Police Fashion for daily updated images of art collection

    And the winner of the Custom Crops Gift Voucher is.....

      Ian is hanging out with me as I prepare this blog post so instead of using the random drawing tool I asked Ian to select a number between 1 and 73, the number of comments on the blog candy as of 12:15 am Thursday morning. 


      The winner of this month's blog candy is lucky number 17:

      Jessica Wekenman said...
      I can't believe you built that sewing machine! That is absolutely fantastic! I love your card and all the colors and papers are so pretty!
       
      Congratulations Jessica, you will be hearing from Custom Crops!   And THANK YOU to Custom Crops for sponsoring my blogs.Source URL: http://policfashion2011.blogspot.com/2010/09/
      Visit Police Fashion for daily updated images of art collection

    Delightful Challenges - purple, green, and black color challenge!


      Hi everyone! It's almost Friday! YAY! And since it's Thursday, that means it's time for a new challenge from Delightful Challenges!  We are sponsored this week by Kut 4 U.  Our challenge is to use the colors purple, green, and black. I threw a few other colors in there, but for the majority of the card, those are definitely my main colors. I used Frankie Ridley along with the haunted house from the Halloween Accessory Set.

      The fence is cut with my Cricut Expression from the Paper Dolls cartridge. I honestly can't remember if it was Everyday or Dress Up. See what happens when you use the Gypsy and don't have to dig out all those cartridges anymore? LOL! Anyway, I curved the fence out from the card, so they're attached to the card on both sides, and then curved out through the center of the fence.  Please be sure to visit Delightful Challenges to see what the rest of my talented DT sisters came up with for this challenge. And don't forget to hop over HERE to see the Digital Delights DT have come up with for today as well. Thanks for stopping by to see me today and hope to see you back again soon! Hugs!Source URL: http://policfashion2011.blogspot.com/2010/09/
      Visit Police Fashion for daily updated images of art collection

    Projects, Where Oh Where are the Projects


      I have missed my blog... It has been a tough week.  For some crazy reason I went into super-mom/Susie-homemaker mode last week.  My youngest son is home from college on fall break (he is on a crazy school schedule).  Ian asked me to make one or two of his favorite meals last week.  Of course this guy's favorite meals are not burgers and pizza.... oh no.... He wanted Greek Chicken Pie (i.e. chicken, feta, spring onions, spices, in a fabulous sauce wrapped in flaky phyllo) and Beef Bourguignonne with Egg Noodles.  Seriously.  The simpler of the meals he requested was homemade tacos and homemade beef BBQ. 

      I think I have gained four pounds in the last week.  Did I forget to mention the homemade apple pie? Yes I did.  I made from scratch apple pie and pie crust on Sunday.  That pie was awesome.  And the crust was fabulous.  I also used the Cricut Cake machine to cut extra pie dough to decorate the top of the pie. The apples were from A Child's Year and the flourish is from French Manor.


      Ian goes back to Atlanta on Friday and I think Doug, Bethany and I will going on a diet starting Saturday!  I will be making a round trip to Atlanta and back in one day, so there will be no crafting on Friday either.   But this weekend THERE WILL BE CRAFTING!! 

      I have three projects planned for the weekend.  My next two BBTB2 projects as well as my fall Yudu napkins. 

      I will be back tomorrow to select a winner of the Custom Crops gift voucher/blog candy.  Sorry to be so worthless in the craft world this week.  I will improve....Source URL: http://policfashion2011.blogspot.com/2010/09/
      Visit Police Fashion for daily updated images of art collection

    Brownie Batter Ice Cream ( and a giveaway! )


      Have you heard of Naturally Nora?  Naturally Nora is a line of baking mixes, such as cake, frosting and brownie, that is all-natural with no artificial colors, flavors or preservatives. What's more? They're really yummy!

      Naturally Nora sent me a (big!) box of their goodies and wants to send one to a Bake at 350 reader, too!

      {There is something very exciting about a box full of baking mixes arriving on your doorstep!}

      I love to bake from scratch, but I'm not opposed to using a boxed mix....sometimes I need a little help!

      So far, we've made Chocolate Chunk Brownies (no picture as we ate them all too fast), cupcakes from the ALot'a Dots cake and frosting mix and Brownie Batter ice cream from the regular brownie mix.  I think I'm using the next box of cake mix & frosting to make Pumpkin Spice Cake Truffles!

      Everything has been delicious!  And my boys went ga-ga over this ice cream!
      Brownie Batter Ice Cream
      {modified from Ben & Jerry's Homemade Ice Cream Book 's French Vanilla}

      1 tsp. vanilla
      1/2 tsp. instant espresso powder
      2 eggs (pasteurized if you'd like)
      3/4 c. sugar
      2 c. heavy cream
      1 c. milk
      1 c. brownie mix

      Combine the vanilla and espresso powder, set aside.

      Whisk the eggs 1-2 minutes until light and fluffy.  Add the sugar a little at a time, whisking until completely blended.  Once all the sugar is added, whisk for 1 minute more. 
      Add in the cream, milk, vanilla/espresso and brownie mix.  Whisk until smooth. 

      At this point, the mixture can be refrigerated until ready to use or transferred to an ice cream maker.  Follow the manufacturer's instructions for freezing.


      To enter the giveaway for a box of goodies from Naturally Nora:
      • visit Naturally Nora and leave a comment here with the mix you'd most like to try,
      • for an EXTRA entry, tweet about the giveaway and leave a separate comment letting me know that you did: " Win a goodie box of Naturally Nora all-natural baking mixes from @bakeat350tweets http://ow.ly/2L8xP! "
      A winner will be randomly chosen October 3rd at 8pm CST.  Good luck & happy baking! :)
        Source URL: http://policfashion2011.blogspot.com/2010/09/
        Visit Police Fashion for daily updated images of art collection

      Sexy Megan Fox wallpapers, megan fox hot pics

      PTW - Sketch Week

        Happy Tuesday everyone! I hope you're having a fabulous week! It's time for a new Papertake Weekly challenge, and this week it's one of Dawny's awesome sketches. This week we're being sponsored by the fabulous Simon Says Stamp. I decided to feature this adorable cutie pie, #3024 Tilda in petticoat, colored with Copic markers. She's available from Diana at Magnolia-licious.


        The cardstock is Bazzill cardstock and the PP are from Nitwits (LOVE these fall papers!!). The bow is made from May Arts silk ribbon and the buttons are just from my stash threaded with embroidery thread. Lots of machine stitching on this one, too. Please be sure to visit Papertake Weekly so you can feast your eyes on the fabulous creations from the rest of the design team. Then we'd love it if you grab your paper and glue and join us in the challenge! You could win a fabulous prize from Simon Says Stamp! Thanks for stopping by to see me today, and hope to see you back again soon! Hugs!
        Source URL: http://policfashion2011.blogspot.com/2010/09/
        Visit Police Fashion for daily updated images of art collection

      Sew Fine Blog Hop - Blog Candy - BBTB2


        Hello everyone, welcome to the monthly BBTB2 blog hop. You may have arrived here from Heather's blog - wasn't her project lovely?  Or you may have just popped in to check out my Monday project.  If you did not start at the BBTB2 blog, you may want to click the link in the left column and start the blog hop at the beginning - after you finish here, of course!!


        The challenge cut this week is the sewing machine from the Cricut's Heritage cartridge.  I actually do not own Heritage so I used shapes in George and built my sewing machine in design studio.  I did this by placing the sewing machine on the mat and then filling it in with the geometric shapes on the George cartridge.


        I also used this cute little sewing girl from Nursery Rhymes.  I layered her with four different papers and topped her off Glimmer Glaze, Pink Lady for the dress and Icicle for the apron and the sewing machine. I finished the girl and her quilt with cute chip board buttons - which I think are from Basic Grey.   


        I also used glimmer mist on the card.  I sprayed the vertical white paper lace trim (from Basic Grey) with Pomegranate Glimmer Mist and allowed it to dry before attaching the lace pieces to the matting. I added a larger chip board button over the lace.


        The photo shows some of the dimensional effect on the card front.


        I did mention blog candy didn't I?  I am offering a $25.00 gift voucher to Custom Crops.  You know you want to go shopping for free!!!  Leave a comment below and you will be in the drawing for the blog candy gift voucher.  I will draw a winner on Thursday.

        Sadly it is now time for you to leave me.  But no worries though, you are off to Krista's blog.  I love Krista!  She is so nice and so talented and soooo pretty. It's a good thing I love her or I might be jealous!!!  Enjoy the rest of the blog hop!!!  And do remember to leave a comment before you hop away....Source URL: http://policfashion2011.blogspot.com/2010/09/
        Visit Police Fashion for daily updated images of art collection

      Spa Sweets : Chocolate Banana Muffins

        What's the first thing you think of when you think of going to a spa?  Food, right?
        I know, it's strange, but when I think of spas, my mind wanders to thoughts of "spa cuisine" (especially if it involves the HERSHEY SPA)!

        So, when Chevy sent a friend and me to the spa for 1-hour massages, my mind naturally went to Chocolate Banana Muffins.  Lori from Recipe Girl (love!) featured a recipe from The Rancho La Puerta Cookbook , Chocolate Banana Bread last year and it's delicious!

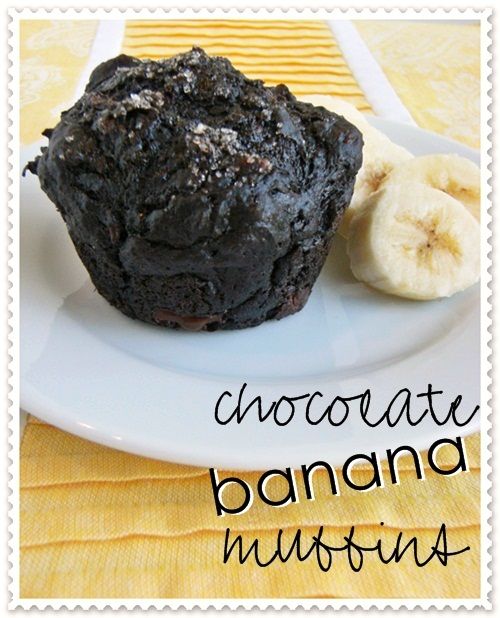
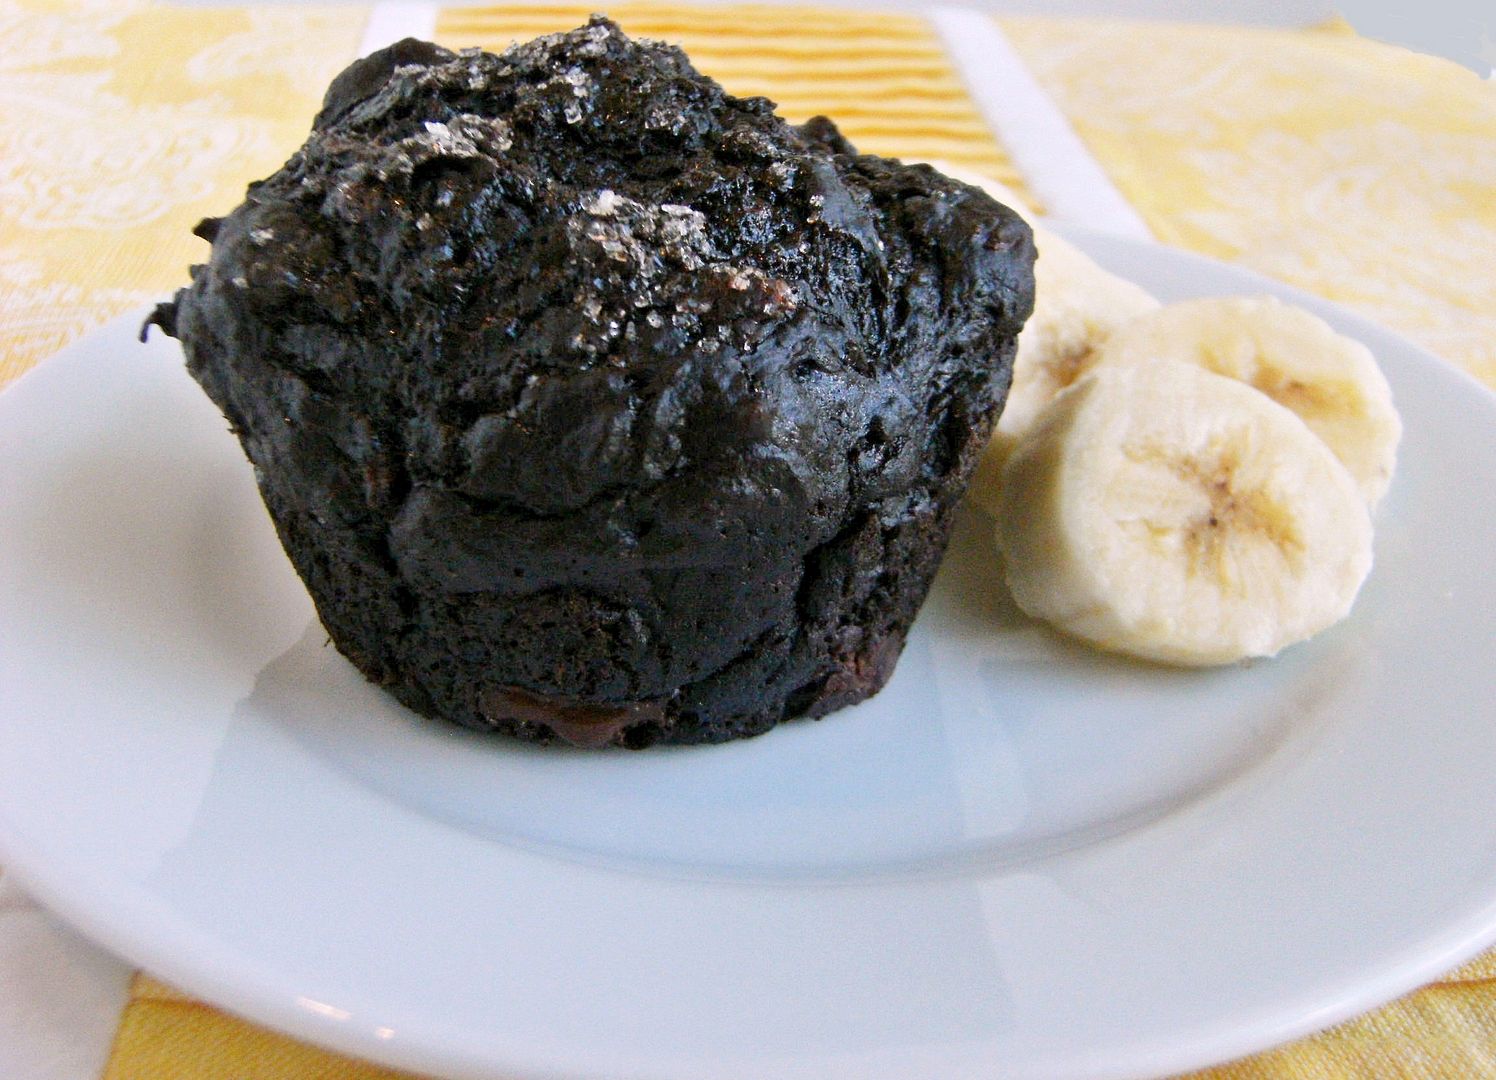
        I changed it up just a bit and made Chocolate Banana Muffins.  They may just be the unhealthiest, healthy muffins you've ever eaten.  No added sugar..
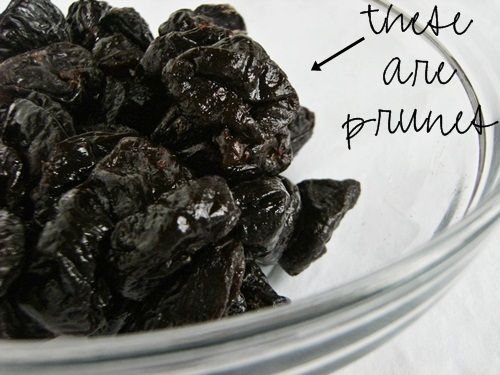
.except for the chocolate chips and banana chips, and well, the sprinkling of sugar on top.

        They also have a secret ingredient: PRUNES!

        Spa Chocolate Banana Muffins
        {adapted from Recipe Girl &The Rancho La Puerta Cookbook }

        10 oz. pitted dried prunes
        2 c. water
        1 c. minus 1 TBSP all-purpose (or WHITE whole wheat) flour
        1/2 c. dutch-process cocoa powder
        2 tsp. baking powder
        2 tsp. cinnamon
        1 and 1/2 tsp. baking soda
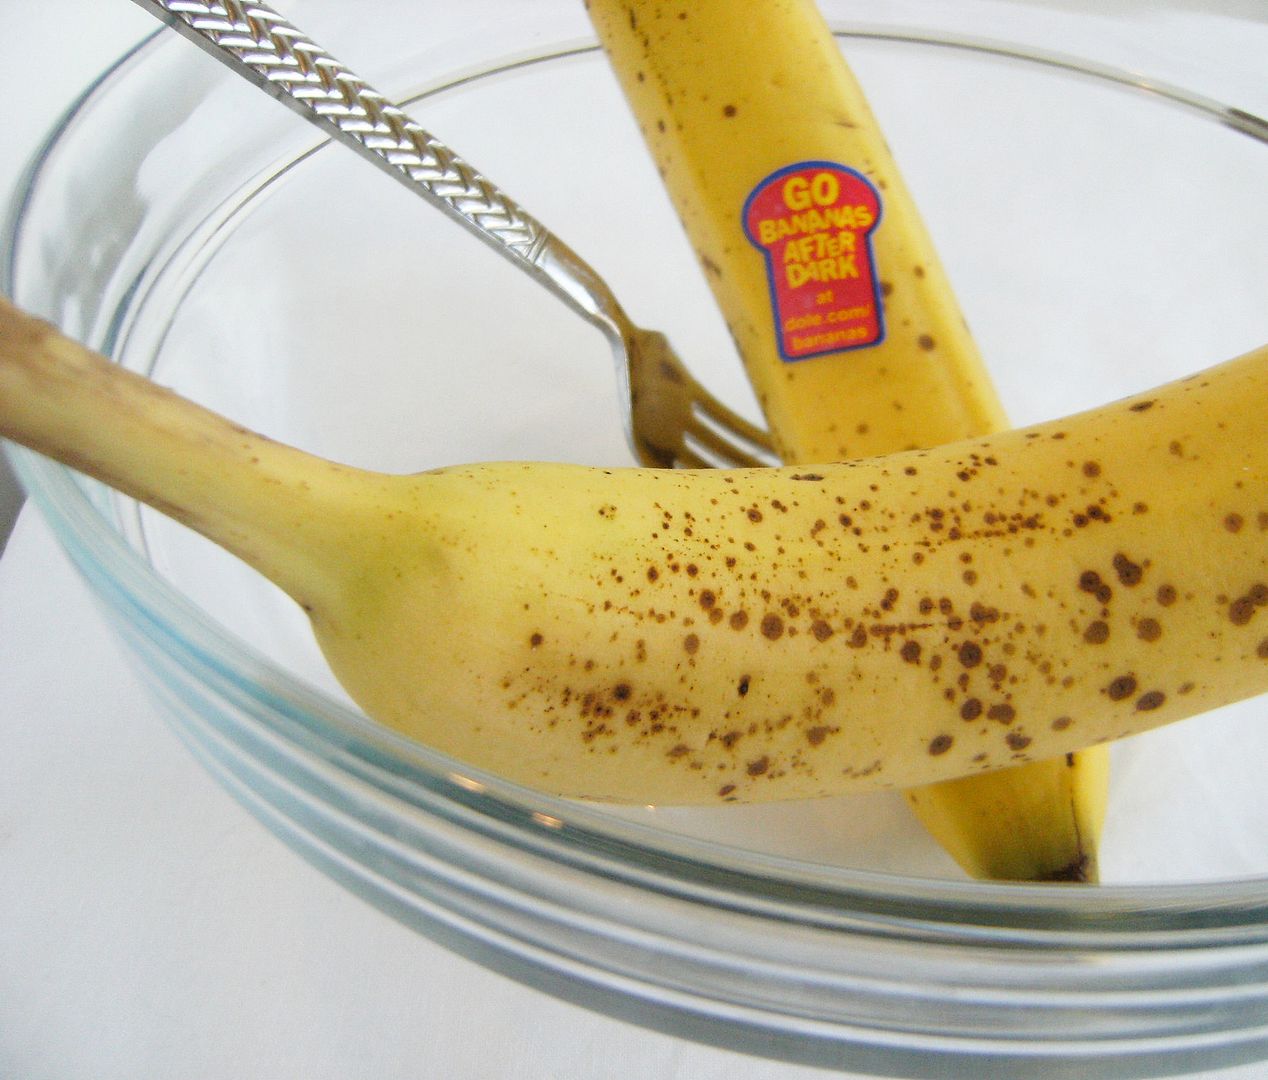
        3/4 c. mashed ripe banana (about 2 bananas)
        2 eggs
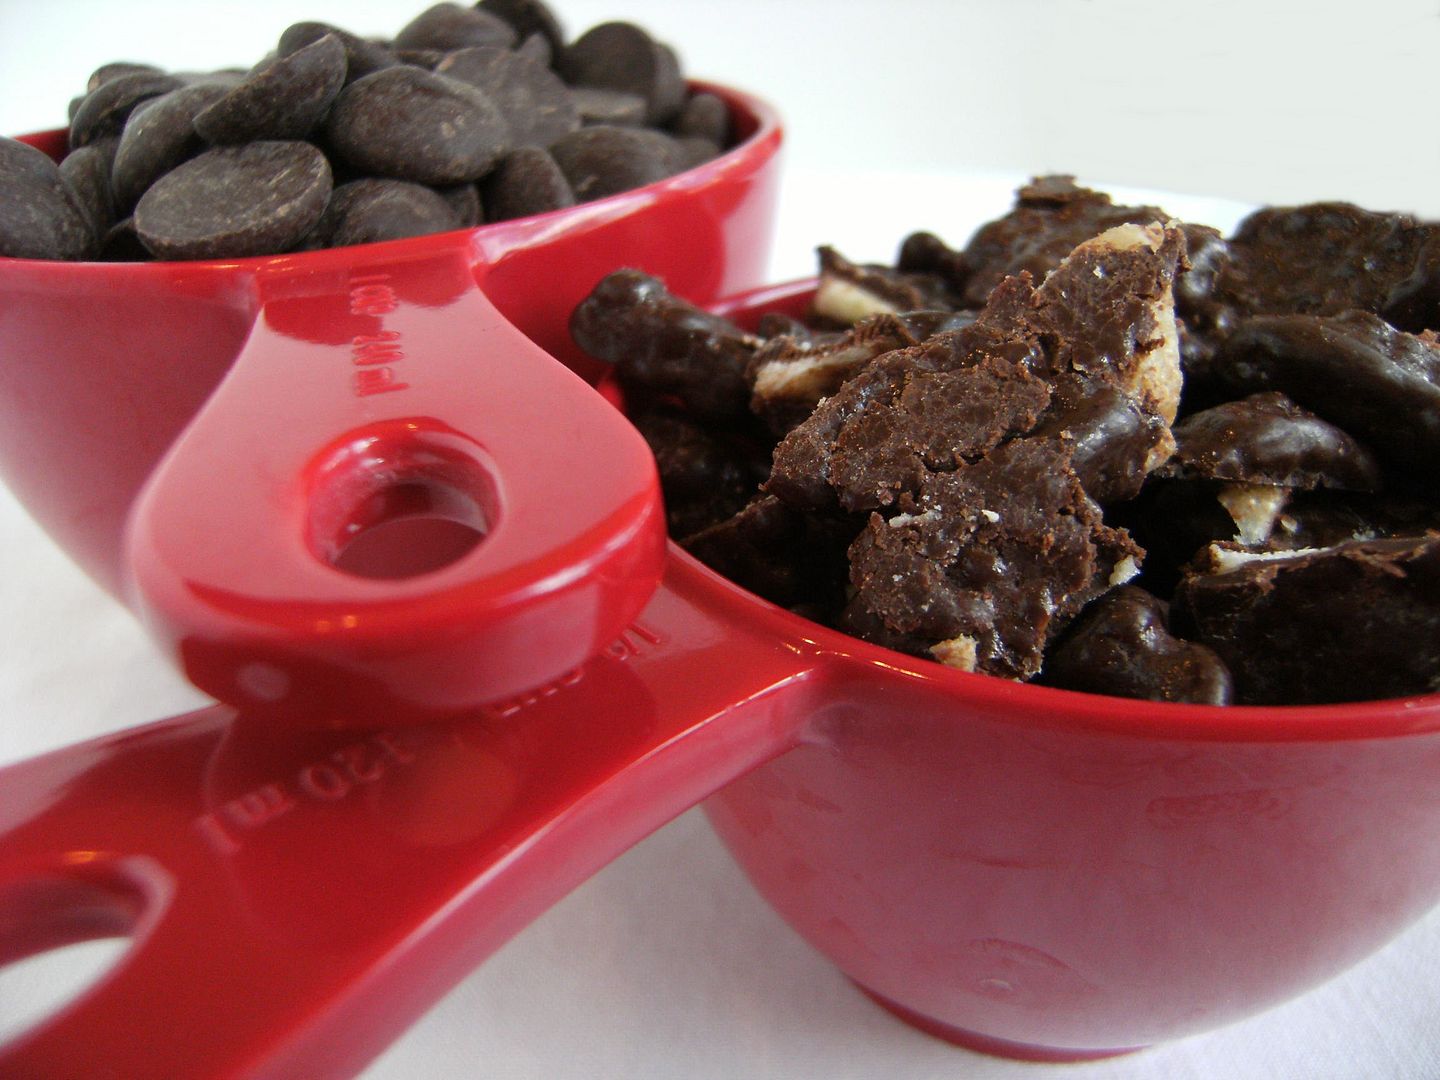
        1/2 c. chocolate-covered banana chips (or reg. banana chips)
        1 c. bittersweet chocolate chips (Ghiradelli)
        sparkling or sanding sugar (optional)

        Combine the prunes and water in a small saucepan.  Bring to a boil over high heat.  Reduce to a simmer  and cook for 20 minutes.  Drain.

        Meanwhile, preheat the oven to 350.  Butter 12 cups of a muffin tin.  If you are really paranoid like me, line the bottoms of the muffin cups with a small circle of parchment paper.

        In a large bowl, whisk flour, cocoa powder, baking powder, cinnamon and baking soda.  Set aside.

        Process the prunes and bananas in a food processor until smooth.  Add eggs and process until combined.

        Stir the prune mixture into the flour until combined. Add in the banana chips and chocolate chips.  Spoon into prepared muffin cups.  Sprinkle with sparkling sugar.

        Bake 16-20 minutes until the tops bounce back when lightly pressed.  Cool on a cooling rack 10 minutes. Remove from pan and let cool completely.  Enjoy!


        {And thank you, Chevy, for the massage!  If you live in the Houston area, be sure to check Gotta Love Chevy for a chance to win a new designer handbag AND a girlfriends getaway to Ojai, CA!}
        Source URL: http://policfashion2011.blogspot.com/2010/09/
        Visit Police Fashion for daily updated images of art collection

      Hanglar and Stanglar thank you card using ProMarkers and Blog Candy Winner!!


        Happy Saturday everyone! Hope you're enjoying your weekend! I know I sure am! I slept LATE today! I'm still trying to get rid of the last of this yucky cold, so I guess I needed it. I need to get a bunch of thank you cards done, so this is the start of them. Expect to see a few more. LOL! This one uses a cute Hanglar and Stanglar image, and this time she's colored with my Letraset ProMarkers! Isn't she adorable? The colors of the Promarkers are truly, truly beautiful! They have such a "soft" feeling to many of them. And they blend beautifully too! I really like the way she turned out. I also printed out the circle sentiment from my computer and colored the font with the same color as her outfit.


        Cardstock is Bazzill, DP is Basic Grey, flowers are from Wild Orchid Crafts, and the lacy strip was made with a Martha Stewart punch and Bazzill cardstock. Ribbon is from Stamp and Create. Thanks so much for stopping by to see me today, and hope to see you back again soon! Hugs!

        Almost forgot to pull the blog candy winner for the Magnolia-liciou Blog Hop! So without further ado...here we go..... drum roll please.........


        Another early bird!!! And the winner is.....


        Congrats Kate!! Please email me your address and I'll get your Tilda and bat stamp in the mail! Thanks to everyone for playing along! Hugs!
        Source URL: http://policfashion2011.blogspot.com/2010/09/
        Visit Police Fashion for daily updated images of art collection

      Peggy Loves Vintage - Yuletide Log


        LOL! I think this guy has really been enjoying the Holiday season!! Isn't this image so fun? It's from a brand new cd at Peggy Loves Vintage,  Christmas Volume 13. It is jam packed with fabulous Christmas images that makes sending a hand made card easier than ever before! I simply printed this off and matted it! That's it!  Please visit Peggy Loves Vintage to see the rest of the fantastic images on this brand new cd! Thanks for stopping by to see me today, and hope to see you back again soon! Have a fantastic weekend! hugs!Source URL: http://policfashion2011.blogspot.com/2010/09/
        Visit Police Fashion for daily updated images of art collection

      Lucy in the Sky with . . . Polka Dots

        Usually when I use my icing printer, I format the image to the size I want before printing.  I decided to play around with something new and print out a patterned page frosting sheet and cut it to fit my cutters.

        Some of you have asked....my printer is an Epson WorkForce 30 Color Printer ; it is compatible with the food coloring cartridges.  You can find a list of all the compatible printers from KopyKake.  The printer itself is pretty affordable; it's the ink that is expensive....$90 for the set.  {That's why it took me so long to order one!  It was a major dent in my Starbucks fund.}

        First, I ordered some digital paper from etsy.  Oh my gosh, there are SO many cute designs available!  I think I now have 100 digital papers in my arsenal.

        {The smart thing would have been to TRY my idea before buying all of them, but I got a little carried away.}

        Second, I printed the image on a full sheet of icing paper.

        Third, using a food coloring pen, I traced the cookie cutters I used and then cut the icing sheets.
        Forth, the cookies were outlined and filled with white royal icing.  While the flood icing was still wet, I applied the icing sheet.  It's not a perfect fit, so....

        Fifth, after the cookies were dry, I went over the borders and added piping.

        Do I love my icing printer?  Yes.  

        But here's my problem with it...and maybe somebody can help me. 
        The original image was this:

        It looks so different on the cookies.
        But, when I made these cookies, the colors stayed pretty true.  I'm so confused.


        Tidy Mom I'm Lovin It Fridays

        Anyone have experience with this they'd like to share?Source URL: http://policfashion2011.blogspot.com/2010/09/
        Visit Police Fashion for daily updated images of art collection