


...well, not really. But, I am dedicating the month of June on the blog to MEN! That's right....it's time for:
We do a lot of cute around here and I thought the month of Fathers' Day was the perfect time to go macho and honor our dads, husbands, sons, brothers, uncles with sugar. On the blog and twitter, I asked what your dad's favorite dessert is. Turns out, dads have a lot of favorites. But, there was a winner.....PIE, and not just any pie, pecan pie!
This recipe I cut out of a magazine years ago. There isn't a magazine name at the bottom, but just "October/November 2004." I knew I was hanging on to this baby for a reason!
Caramel Pecan Pie
{adapted from unknown magazine 2004 :)}
crust:
1 c. unbleached, all-purpose flour
1/2 c. cake flour
1 TBSP sugar
1/2 tsp. coarse salt
6 TBSP unsalted butter, cut into pieces
3 TBSP shortening, chilled
3-4 TBSP ice water
filling:
1 c. heavy whipping cream
2 TBSP unsalted butter, cut into pieces
1 & 1/3 c. sugar
1/2 c. water
1 TBSP corn syrup
2 & 1/2 c. pecan halves
2 tsp. vanilla

Line a baking sheet with parchment. Place pecans on a baking sheet in a single layer and bake at 350 for 5 minutes. Set aside to cool.
In a food processor, pulse the flours, sugar and salt until combined. Add the butter and cold shortening; pulse until the mixture looks like coarse crumbs with a few pea-sized clumps. Add 3 TBSP water and pulse until a dough just begins to form. Add more water, 1 teaspoon at a time if needed.
Dump the dough onto a lightly floured surface and roll into a 12" circle. Place in a 10" (9" is ok) pie tin. Trim and flute the edges. Place in the freezer for 30 minutes, or until firm.
Preheat the oven to 375. Line the crust with foil and fill with dried beans or pie weights. Bake in the lower half of the oven 15 minutes; remove foil and beans and bake an additional 20 minutes, until the crust is golden brown. Cool on a wire rack.
For the filling, heat the cream and 2 TBSP butter in a small saucepan over medium heat. When butter melts and the mixture is hot, remove from heat and cover to keep warm.
Combine sugar, water and corn syrup in a medium saucepan. Cover and cook over medium heat, without stirring, until sugar dissolves.
Dip a pastry brush in water. Uncover the pan and brush the sides with the wet pastry brush to brush down any stray sugar crystals. Increase heat to med-high and boil until sugar becomes a golden brown (about 5 minutes).
Remove from heat. Slowly add the cream, the mixture WILL bubble up, and stir until the boiling stops and the mixture is smooth. Stir in the pecans and vanilla.
Let sit 15 minutes (I forgot to do this...oh, no! This may be why mine was a little runny.)

Pour into baked crust and let sit at least 3 hours until cooled and set. (You can stick in the the fridge once cooled.)
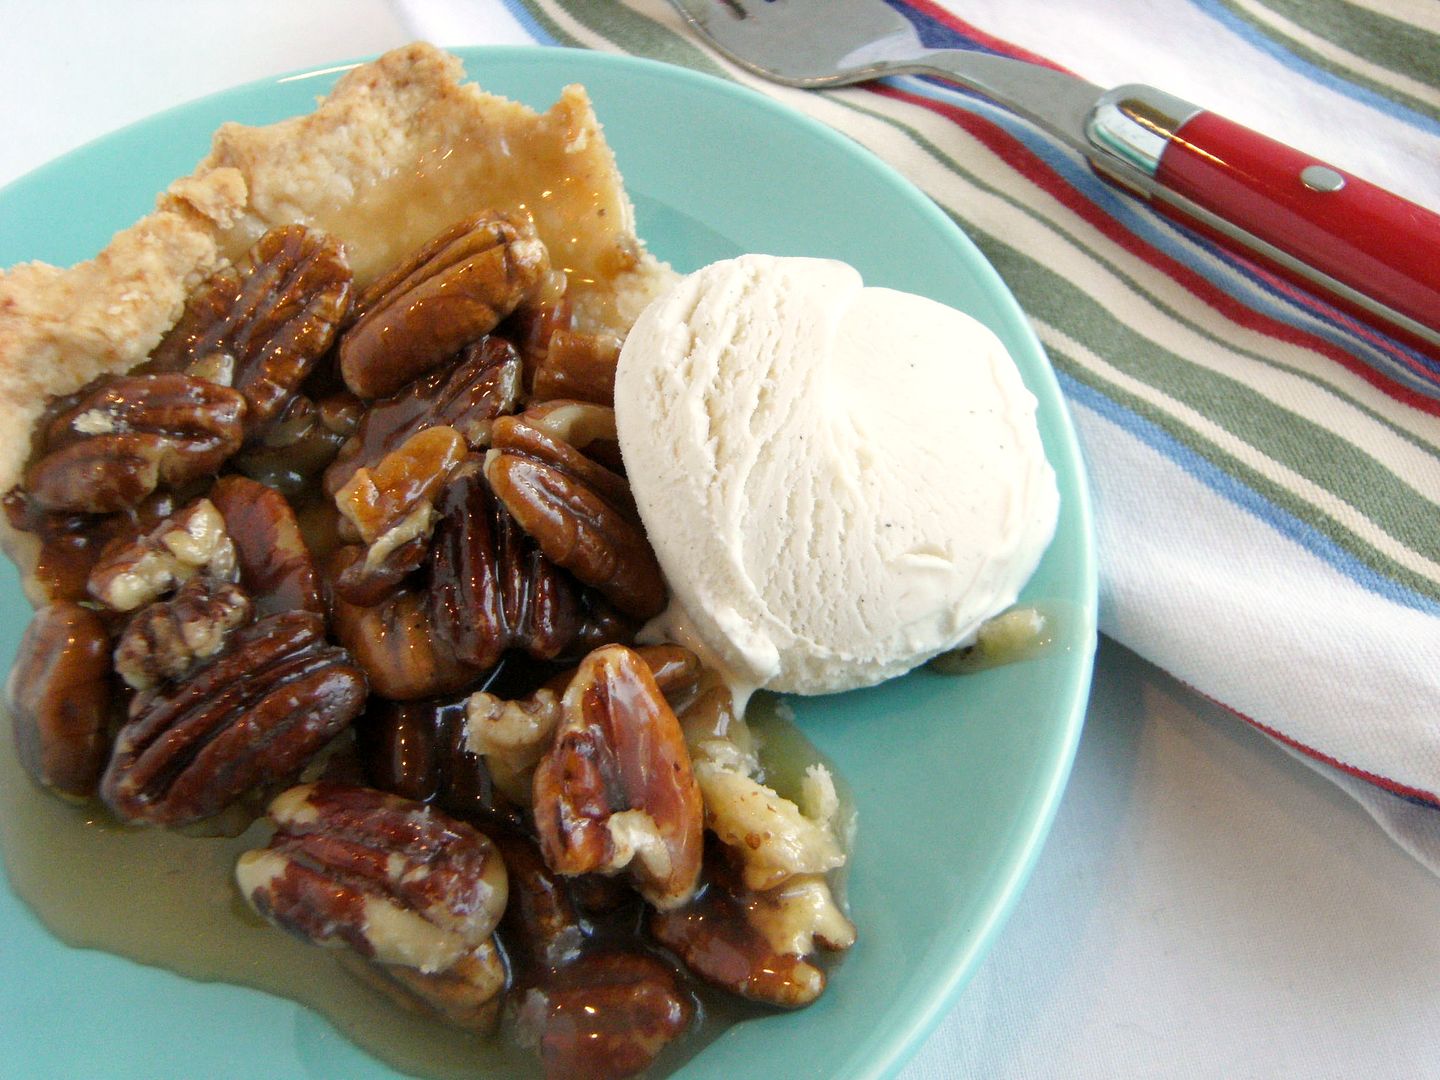
Now, *I* thought a brown sugar whipped cream would be delicious with this. Mr. E assured me that ice cream is much more manly, soooooooo, top this pie with ice cream.
 If you don't have time to (or interest in) making ice cream, let me suggest Haagen-Dazs 5-ingredient ice cream, Vanilla Bean. I am not a big fan of plain ol' vanilla ice cream. This ice cream, though, with its flecks of vanilla bean, I could eat in one sitting. It's creamy, vanilla-y and decadent! Trust me.
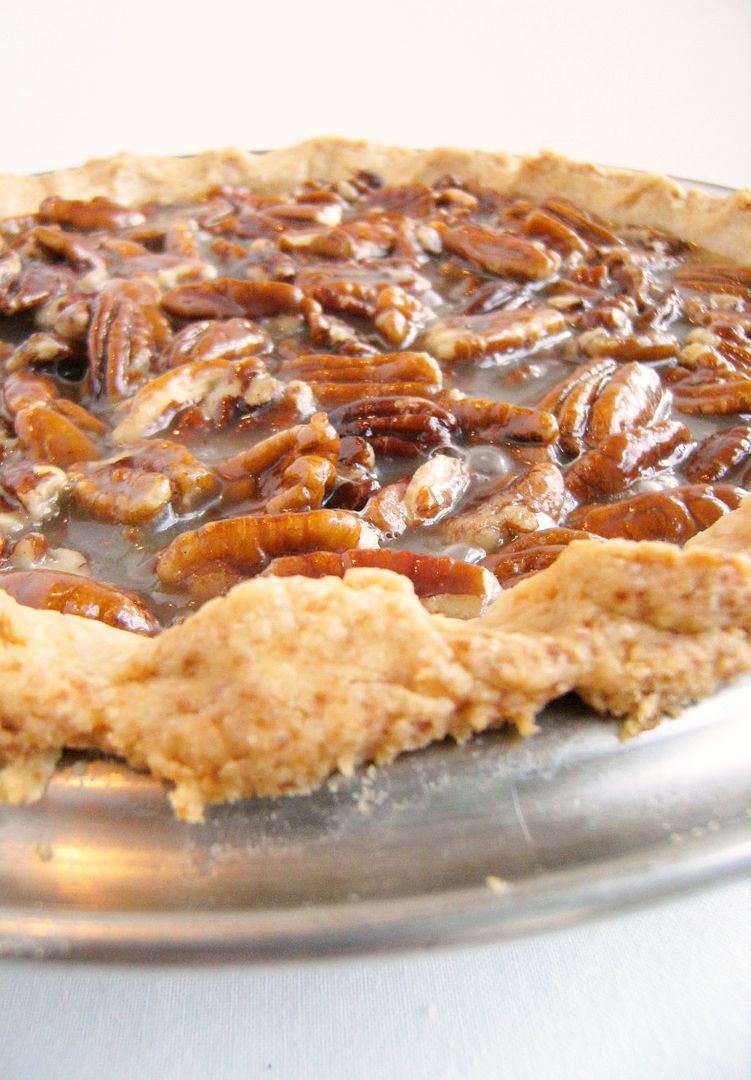
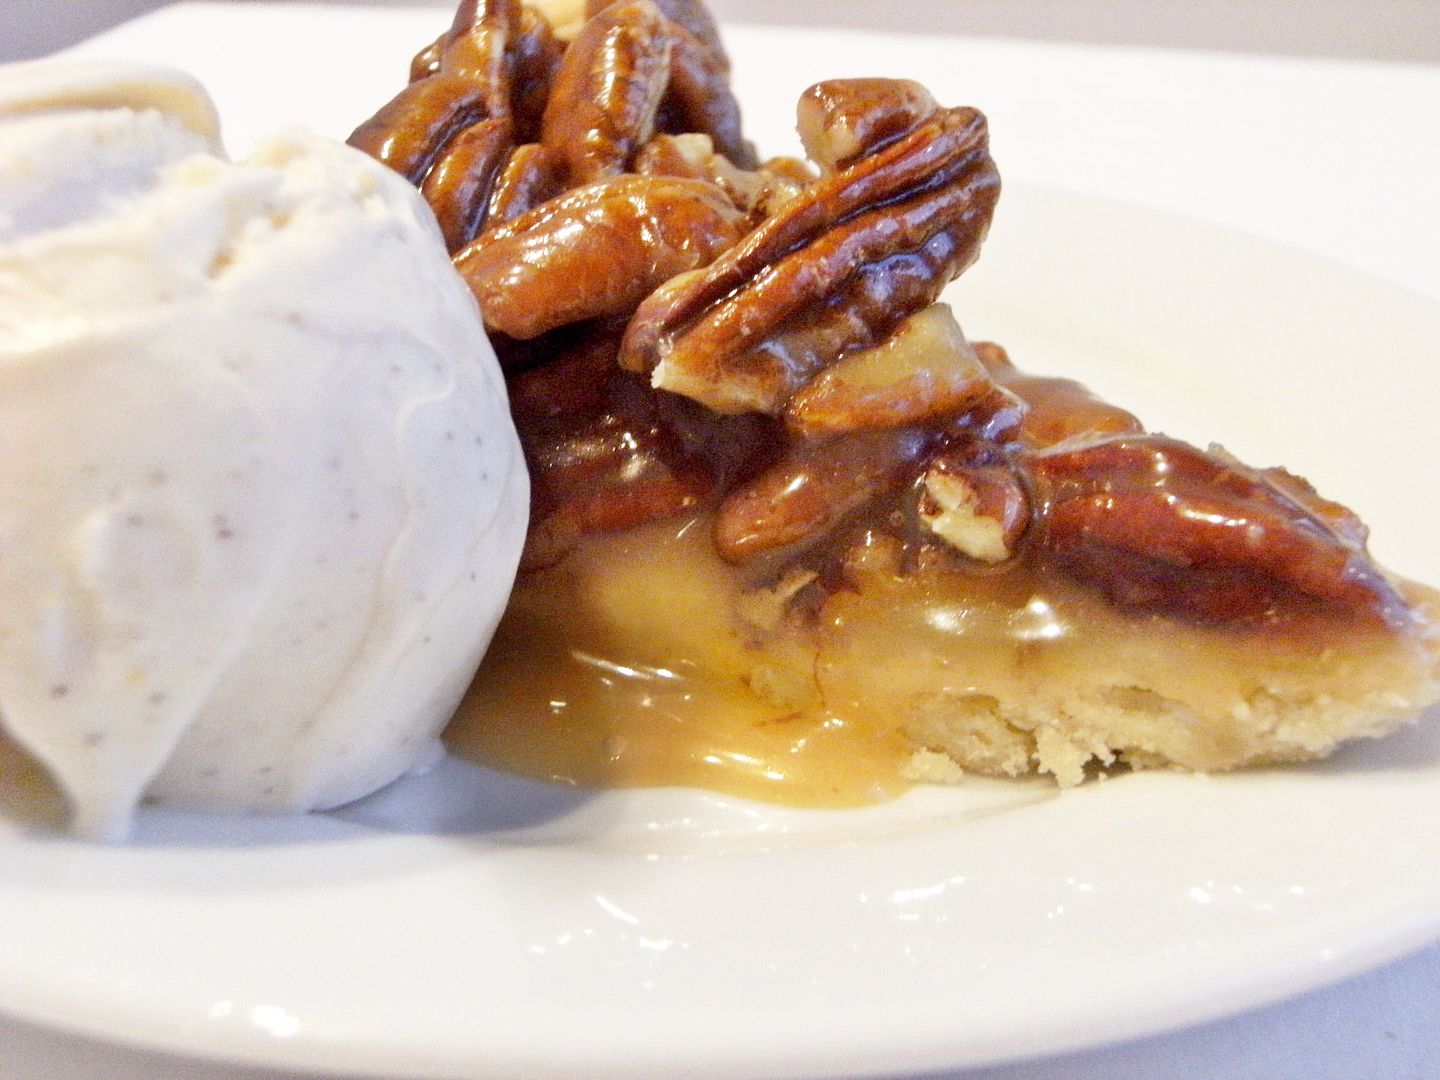
The pie is delicious...the caramel with the pecans all tucked into a buttery crust...but I'll admit, it is a bit soupy. Now, Mr. E assures me this is not a problem...it tastes good and that's what counts. Hey, it's Desserts for Dudes, who am I to argue?
Well, I hope during this month, you'll see one of your dude's favorite desserts! We'll be back to pink and sprinkles next month, not to worry. :)
Visit Police Fashion for daily updated images of art collection
Desserts for Dudes!
This recipe I cut out of a magazine years ago. There isn't a magazine name at the bottom, but just "October/November 2004." I knew I was hanging on to this baby for a reason!
Caramel Pecan Pie
{adapted from unknown magazine 2004 :)}
crust:
1 c. unbleached, all-purpose flour
1/2 c. cake flour
1 TBSP sugar
1/2 tsp. coarse salt
6 TBSP unsalted butter, cut into pieces
3 TBSP shortening, chilled
3-4 TBSP ice water
filling:
1 c. heavy whipping cream
2 TBSP unsalted butter, cut into pieces
1 & 1/3 c. sugar
1/2 c. water
1 TBSP corn syrup
2 & 1/2 c. pecan halves
2 tsp. vanilla
In a food processor, pulse the flours, sugar and salt until combined. Add the butter and cold shortening; pulse until the mixture looks like coarse crumbs with a few pea-sized clumps. Add 3 TBSP water and pulse until a dough just begins to form. Add more water, 1 teaspoon at a time if needed.
Dump the dough onto a lightly floured surface and roll into a 12" circle. Place in a 10" (9" is ok) pie tin. Trim and flute the edges. Place in the freezer for 30 minutes, or until firm.
Preheat the oven to 375. Line the crust with foil and fill with dried beans or pie weights. Bake in the lower half of the oven 15 minutes; remove foil and beans and bake an additional 20 minutes, until the crust is golden brown. Cool on a wire rack.
For the filling, heat the cream and 2 TBSP butter in a small saucepan over medium heat. When butter melts and the mixture is hot, remove from heat and cover to keep warm.
Combine sugar, water and corn syrup in a medium saucepan. Cover and cook over medium heat, without stirring, until sugar dissolves.
Dip a pastry brush in water. Uncover the pan and brush the sides with the wet pastry brush to brush down any stray sugar crystals. Increase heat to med-high and boil until sugar becomes a golden brown (about 5 minutes).
Remove from heat. Slowly add the cream, the mixture WILL bubble up, and stir until the boiling stops and the mixture is smooth. Stir in the pecans and vanilla.
Let sit 15 minutes (I forgot to do this...oh, no! This may be why mine was a little runny.)
Now, *I* thought a brown sugar whipped cream would be delicious with this. Mr. E assured me that ice cream is much more manly, soooooooo, top this pie with ice cream.
 If you don't have time to (or interest in) making ice cream, let me suggest Haagen-Dazs 5-ingredient ice cream, Vanilla Bean. I am not a big fan of plain ol' vanilla ice cream. This ice cream, though, with its flecks of vanilla bean, I could eat in one sitting. It's creamy, vanilla-y and decadent! Trust me.
Well, I hope during this month, you'll see one of your dude's favorite desserts! We'll be back to pink and sprinkles next month, not to worry. :)
{Now, if you'll excuse me, I have a 2nd piece of pie to eat!}
Source URL: http://policfashion2011.blogspot.com/2010/05/And, thank you, thank you to MutheringHeight who helped in the naming of this month! Duuude, you rock!
Visit Police Fashion for daily updated images of art collection


